

MicroPython开发ESP8266
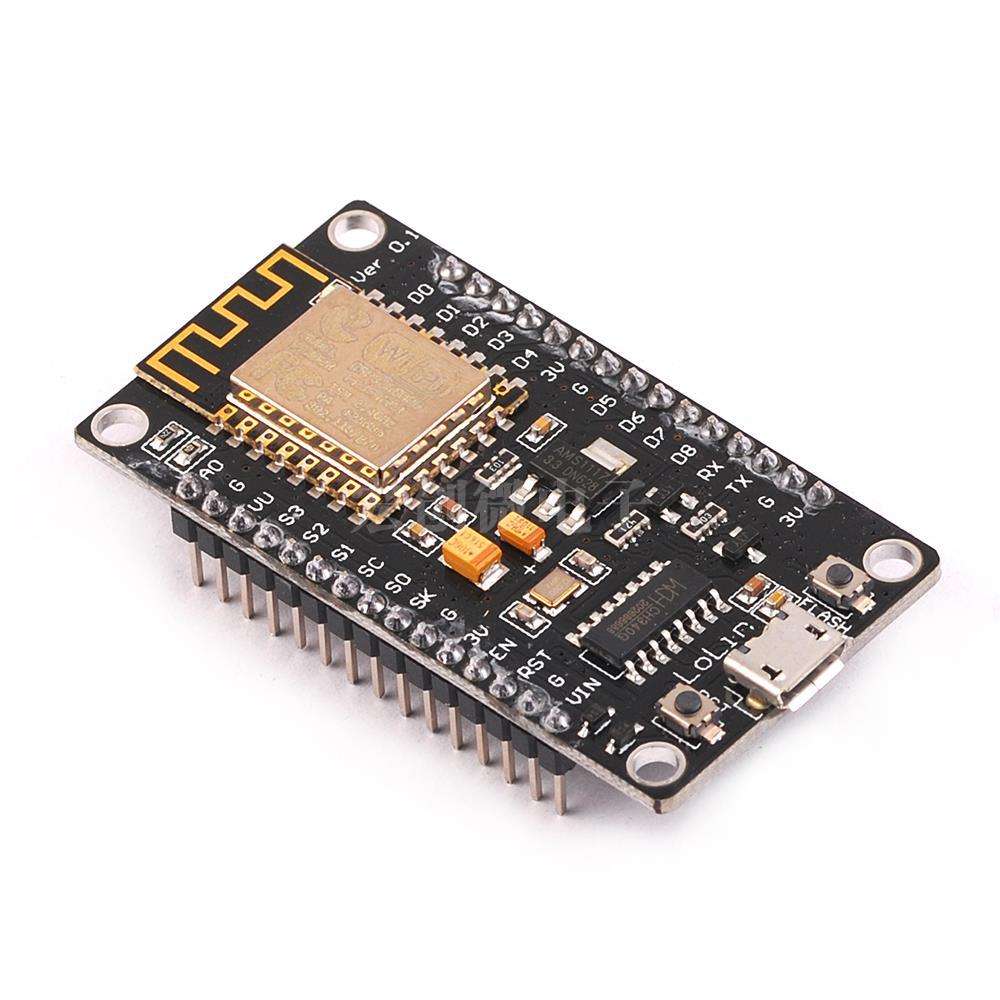
ESP8266是性价比非常高的Wi-Fi模块,大概20rmb,可以使用STA(Station )站模式作为设备连接上周围的wifi,还可使用AP(Access Point)接入点模式,释放热点让周围的设备连上来,在物联网领域属于烂大街的开发板,支持多种开发方式,这里介绍的是使用MicroPython的方式,以下为在Windows10系统中的操作。
MicroPython是Python 3编程语言的精益高效实现,它包括Python标准库的一小部分,并经过优化,可在微控制器和受限环境中运行。
MicroPython pyboard是一款紧凑的电子电路板,可以在裸机上运行MicroPython,为您提供了一个可用于控制各种电子项目的低级Python操作系统。
MicroPython充满了高级功能,例如交互式提示,任意精度整数,闭包,列表理解,生成器,异常处理等。然而,它足够紧凑,可以在256k的代码空间和16k的RAM内安装和运行。
MicroPython旨在尽可能与普通Python兼容,以允许您轻松地将代码从桌面传输到微控制器或嵌入式系统。
——引用自MicroPython官网
1.固件和环境配置
1.去MicroPython官网下载ESP8266的固件[点击前往]

下载最新版的固件即可
2.安装固件
-
下载安装工具 esptool
pip install esptool #会下载到python库中,可以单独使用也可以作为python模块使用 -
电脑连接esp8266开发板,记录下串口号, 如COM3 (如遇到驱动安装问题,需要自行搜索解决)

-
切换到固件的下载路径,擦除esp8266的原有固件
python -m esptool --port COM3 erase_flashCOM3 为 串口号
结果如下:
E:\Desktop\Projects\ESP8266\micropython\code>python -m esptool --port COM3 erase_flash esptool.py v3.2 Serial port COM3 Connecting.... Detecting chip type... Unsupported detection protocol, switching and trying again... Connecting.... Detecting chip type... ESP8266 Chip is ESP8266EX Features: WiFi Crystal is 26MHz MAC: 30:83:98:a3:1b:d0 Uploading stub... Running stub... Stub running... Erasing flash (this may take a while)... Chip erase completed successfully in 7.4s Hard resetting via RTS pin... -
安装新固件
python -m esptool --port COM3 --baud 115200 write_flash --flash_size=detect 0 esp8266-20220117-v1.18.bin115200 为串口波特率,常用的波特率一般为 9600 ,115200,19200 ,...(数值越大传输数据越快,过大可能会传输失败)
3.使用交互式工具rshell连接到开发板
-
可以在 github上下载或者使用 pip 安装
pip install rshell -
创建并打开cmd到工程目录
-
连接到开发板
rshell --buffer-size 512 --editor C:\Windows\System32\notepad.exe -p COM3[注]: --buffer-size 指定缓冲区的大小 ,
--editor指定文本编辑器软件(使用vscode的话可以填写
code) , 可简写为 -e-p 指定rshell要连上的串口号
结果如下:
E:\Desktop\Projects\ESP8266\micropython\code>rshell --buffer-size 512 --editor notepad -p COM3
Using buffer-size of 512
Connecting to COM3 (buffer-size 512)...
Trying to connect to REPL  connected
Retrieving sysname ... esp8266
Testing if ubinascii.unhexlify exists ... Y
Retrieving root directories ... /boot.py/
Setting time ... Jan 25, 2022 22:24:05
Evaluating board_name ... pyboard
Retrieving time epoch ... Jan 01, 2000
Welcome to rshell. Use the exit command to exit rshell.
E:\Desktop\Projects\ESP8266\micropython\code>
输入help可以查看支持的指令
E:\Desktop\Projects\ESP8266\micropython\code> help Documented commands (type help): ======================================== args cat connect date edit filesize help mkdir rm shell boards cd cp echo exit filetype ls repl rsync Use the exit command to exit rshell. 环境说明: 该环境额外增加了
pyboard文件夹 文件路径关系如下:

==================================
pyboard目录指代开发板,里面的文件就是开发板里的文件
boot.py 和 main.py 为开发板开机后 先后执行的文件使用repl指令可以进入micropython的交互环境
/Desktop/Projects/ESP8266/micropython/code> repl
Entering REPL. Use Control-X to exit.
>
MicroPython v1.18 on 2022-01-17; ESP module with ESP8266
Type "help()" for more information.
>>> print("This is a hello world in esp8266")
This is a hello world in esp8266
我们可以用machine库中的reset方法重启开发板, 或者
ctrl+D软重启,ctrl+x退出repl,更多rshell的操作可参考rshell项目>>> machine.reset() >>> ets Jan 8 2013,rst cause:2, boot mode:(3,7) load 0x40100000, len 30720, room 16 tail 0 chksum 0x0f load 0x3ffe8000, len 1012, room 8 tail 12 chksum 0x00 ho 0 tail 12 room 4 load 0x3ffe8400, len 1080, room 12 tail 12 chksum 0x87 csum 0x87 MicroPython v1.18 on 2022-01-17; ESP module with ESP8266 Type "help()" for more information. >>>
2.wifi和时间同步
1.连接wifi(参考中文文档)
from network import *
sta_if = WLAN(STA_IF)
sta_if.active(True)
sta_if.connect("wifi名称","wifi密码")
while(!sta_if.isconnected())
    pass
print('wifi信息',sta_if.ifconfig())2.同步时间(参考中文文档)
import ntptime
import time
ntptime.settime()
print('local time:',time.localtime())
3.写入main.py,使开发板开机自动运行
可配置rshell的 --editor [notepad | code | ...] 使用编辑器写入
或在项目中创建main.py后用cp指令覆盖进去
使用指令 cp main.py /pyboard/main.py
3.使用upip安装第三方模块
类似于python的pip在MicrPython中可以使用upip安装第三方库,在交互环境中使用
>>> import upip
>>> upip.install('umqtt.simple')
Installing to: /lib/
Warning: micropython.org SSL certificate is not validated
Installing umqtt.simple 1.3.4 from https://micropython.org/pi/umqtt.simple/umqtt.simple-1.3.4.tar.gz
MicroPython可使用的库 可以在 micropython-lib中查看
4.GPIO
1.获取说明文档的引脚分布图
原理图和开发文档由商家提供
2.设置引脚 输入/输出 和 高/低 电平
from machine import Pin
p1 = Pin(0,Pin.OUT) #输出
p2 = Pin(1,Pin.IN) #输入
p1.value(1) #高电平
p2.value(0) #低电平
3.获取引脚高低电平
p1.value()
p2.value()
4.PWM
from machine import Pin
p1 = Pin(0,Pin.OUT) #输出
pwm1 = PWM(p1)
pwm1.freq(38000)  #频率 单位Hz
pwm1.duty(1023*0.5) #占空比 0-1023
5.Socket
-
客户端
import socket import json client = socket.socket(socket.AF_INET,socket.SOCK_STRAM) client.connect(('192.168.0.30',4000)) client.sendall(bytes('hello','utf-8')) -
服务端
import uasyncio as asyncio

async def client_connected(reader, writer):
  while True:
      resp = await reader.read(1024)
      print(resp)

loop = asyncio.get_event_loop()
loop.create_task(asyncio.start_server(client_connected, "0.0.0.0", 8081))
loop.run_forever()
loop.close()
6.外设
1.温湿度传感器DHT (Digital Humidity & Temperature)
>>> import dht
>>> from machine import Pin
>>> d = dht.DHT22(Pin(4,Pin.IN))
>>> d.measure() #进行一次测量
>>> d.temperature() #输出温度值
>>> d.humidity() #输出湿度值

Comments | 2 条评论
这个教程出得好,所以我用esp32-c3 :huaji:
@2849621059