

编译安装GCC,Nginx,Nodejs,Python3,Proxychains,Git,Screen
所有的编译安装都需要GCC,可以使用指令
[root@VM-16-12-centos ~]# gcc --version
gcc (GCC) 9.3.1 20200408 (Red Hat 9.3.1-2)
Copyright (C) 2019 Free Software Foundation, Inc.
This is free software; see the source for copying conditions.  There is NO
warranty; not even for MERCHANTABILITY or FITNESS FOR A PARTICULAR PURPOSE.
来查看自己电脑上的GCC版本,如果太低比如5或者更低的,那就需要优先来安装高版本的GCC,编译安装一般耗时较长可以使用screen或者nohup指令放到后台运行。
安装GCC
一般不推荐编译安装GCC,因为耗时特别长大概有6+小时,这里使用devtoolset来安装
devtoolset对应gcc的版本
devtoolset-3对应gcc4.x.x版本
devtoolset-4对应gcc5.x.x版本
devtoolset-6对应gcc6.x.x版本
devtoolset-7对应gcc7.x.x版本
devtoolset-8对应gcc8.x.x版本
devtoolset-9对应gcc9.x.x版本
devtoolset-10对应gcc10.x.x版本
通过centos-release-scl源安装devtoolset包
yum install centos-release-scl
yum install devtoolset-9
激活gcc版本,使其生效
scl enable devtoolset-9 bash
#或者
source /opt/rh/devtoolset-9/enable
这种方式只能在当前的bash中生效,下次启动就会回到原本的gcc,因此需要写入到profile文件中,执行下面语句即可写入
echo "source /opt/rh/devtoolset-9/enable" >> /etc/profile编译安装Nginx
编译工具及库文件(仅展示)
| 服务 | 官方站点 | 下载链接 | 说明 |
|---|---|---|---|
| nginx | http://nginx.org/ | http://nginx.org/download/nginx-1.20.2.tar.gz | 下载stable的稳定版本 |
| pcre | http://www.pcre.org/ | https://sourceforge.net/projects/pcre/files/pcre/ | rewrite模块需要 pcre 库 |
| zlib | http://zlib.net/ | http://zlib.net/zlib-1.2.11.tar.gz | gzip模块需要 zlib 库 |
| openssl | http://www.openssl.org | http://www.openssl.org/source/ | ssl 功能需要openssl库 |
创建nginx的安装目录
mkdir /opt/nginx选个合适的位置,下载 nginx编译所需要的库文件
curl --progress http://nginx.org/download/nginx-1.20.2.tar.gz |tar xz
curl --progress https://nchc.dl.sourceforge.net/project/pcre/pcre/8.45/pcre-8.45.tar.gz |tar xz
curl --progress http://www.zlib.net/zlib-1.2.11.tar.gz |tar xz
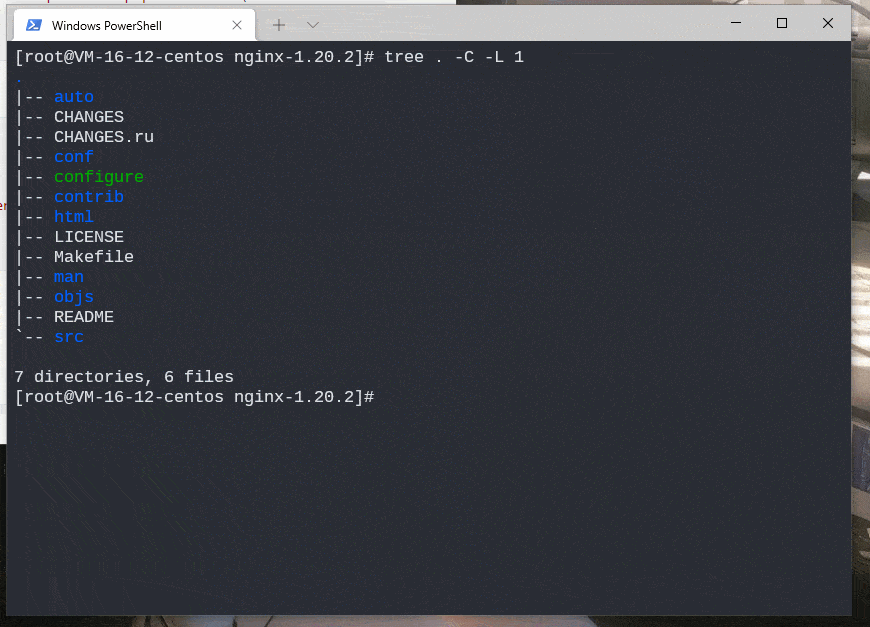
curl --progress https://www.openssl.org/source/openssl-1.1.1l.tar.gz |tar xz此时目录结构为
[root@VM-8-2-centos nginx-temp]# tree -C -L 1
.
├── nginx-1.20.2
├── openssl-1.1.1l
├── pcre-8.45
└── zlib-1.2.11
编译nginx
切换到上述目录中的nginx-1.20.2目录中,使用如下指令
./configure --prefix=/opt/nginx --with-pcre=../pcre-8.45 --with-zlib=../zlib-1.2.11 --with-openssl=../openssl-1.1.1l --pid-path=/var/run/nginx.pid --lock-path=/var/run/nginx.lock --http-client-body-temp-path=/var/cache/nginx/client_temp --http-proxy-temp-path=/var/cache/nginx/proxy_temp --user=nginx --group=nginx --with-compat --with-file-aio --with-threads --with-http_addition_module --with-http_auth_request_module --with-http_dav_module --with-http_flv_module --with-http_gunzip_module --with-http_gzip_static_module --with-http_mp4_module --with-http_random_index_module --with-http_realip_module --with-http_secure_link_module --with-http_slice_module --with-http_ssl_module --with-http_stub_status_module --with-http_sub_module --with-http_v2_module --with-mail --with-mail_ssl_module --with-stream --with-stream_realip_module --with-stream_ssl_module --with-stream_ssl_preread_module --with-cc-opt='-O2 -g -pipe -Wall -Wp,-D_FORTIFY_SOURCE=2 -fexceptions -fstack-protector-strong --param=ssp-buffer-size=4 -grecord-gcc-switches -m64 -mtune=generic -fPIC' --with-ld-opt='-Wl,-z,relro -Wl,-z,now -pie'如果没有错误,就算安装成功


会生成Makefile文件,其中objs文件夹中的Makefile是实际编译的文件,modules.h中是nginx要安装的模块。
我们需要做一步额外的操作,打开 ./objs/Makefile文件
1841 ../pcre-8.45/Makefile:  objs/Makefile
1842         cd ../pcre-8.45 \
1843         && if [ -f Makefile ]; then $(MAKE) distclean; fi \
1844         && CC="$(CC)" CFLAGS="-O2 -fomit-frame-pointer -pipe -fPIC " \
1845         ./configure --disable-shared
1846
在大概1844行的 -pipe 后面添加 -fPIC
1860 ../zlib-1.2.11/libz.a:  objs/Makefile
1861         cd ../zlib-1.2.11 \
1862         && $(MAKE) distclean \
1863         && CFLAGS="-O2 -fomit-frame-pointer -pipe -fPIC " CC="$(CC)" \
1864                 ./configure \
1865 && $(MAKE) libz.a在大概1863行的-pipe后添加-fPIC
修改完毕后使用指令 make && make install来编译安装
完成后,如果/opt/nginx/下的目录结构为
[root@VM-8-2-centos nginx]# tree /opt/nginx/ -C -L 1
.
├── conf
├── fastcgi_temp
├── html
├── logs
├── sbin
├── scgi_temp
└── uwsgi_temp
则编译安装成功,使用 /opt/nginx/sbin/nginx 可以运行nginx
不过自定义的目录需要手动创建,执行这条语句来完成创建mkdir -p /var/cache/nginx/client_temp
设置软连接
来达到使用nginx指令就能启动的效果,相当于windows端配置Path环境变量
ln -s /opt/nginx/sbin/nginx /usr/bin/nginxnginx # 启动
nginx -t #检验配置文件是否正常
nginx -s reload #重启
nginx -s quit #停止编译安装Screen
安装screen之前需要安装ncurses-devel
下载screen和ncurses-devel
curl --progress http://ftp.gnu.org/gnu/screen/screen-4.3.1.tar.gz | tar xzcurl --progress http://ftp.gnu.org/gnu/ncurses/ncurses-6.3.tar.gz | tar xz编译安装ncurses-devel
切换到ncurses-6.3目录cd ncurses-6.3
执行./configure && make && make install指令
编译安装screen
切换到screen-4.3.1目录cd screen-4.3.1
执行./configure && make && make install指令
编译安装Nodejs
使用bin包
不推荐编译安装Nodejs,编译时间很久,可以在nodejs官网下载最新版的bin包

wget https://nodejs.org/dist/v16.14.2/node-v16.14.2-linux-x64.tar.xz解压
xz -d node-v16.14.2-linux-x64.tar.xz得到node-v16.14.2-linux-x64.tar 文件
tar -zxvf node-v16.14.2-linux-x64.tar得到node-v16.14.2-linux-x64目录,将其中的文件移动到/opt/nodejs路径下
mv ./node-v16.14.2-linux-x64/* /opt/node在/etc/profile文件中声明path
export PATH=$PATH:/opt/nodejs/bin然后让path立即生效
source /etc/profile检查版本,检测是否安装成功
[root@VM-8-2-centos ~]# node -v
v16.14.5
[root@VM-8-2-centos ~]# npm -v
8.5.0
编译安装
在nodejs官网下载最新版node-v16.14.0.tar.gz文件,然后解压 ,并切换到解压后的目录
curl --progress https://nodejs.org/dist/v16.14.0/node-v16.14.0.tar.gz | tar xz切换到node-v16.14.0目录下cd node-v16.14.0然后执行下面指令
screen ./configure  --prefix=/opt/node && make && make install
#或者
nohup ./configure  --prefix=/opt/node && make && make install
【注】:编译安装的过程会很久,一个小时起步,建议用screen或者nohup挂着一晚上
来编译并安装到 /opt/nodejs 目录下,这样还无法使用node指令运行
在/etc/profile文件中声明path
export PATH=$PATH:/opt/nodejs/bin然后让path立即生效
source /etc/profile检查版本,检测是否安装成功
[root@VM-8-2-centos ~]# node -v
v16.14.0
[root@VM-8-2-centos ~]# npm -v
8.3.1
编译安装Python3
在官网的ftp库中下载最新版的安装包
wget https://www.python.org/ftp/python/3.9.9/Python-3.9.9.tgz && tar -zxf Python-3.9.9.tgz && rm -f Python-3.9.9.tgz && cd Python-3.9.9使用指令
./configure --prefix=/opt/python3.9 && make && make install 编译安装完成后在/etc/profile中添加别名
alias python3=/opt/python3.9/bin/python3.9
alias pip3=/opt/python3.9/bin/pip3.9
然后使别名立即生效
source /etc/profile检测安装是否成功
[root@VM-8-2-centos python3.9]# python3 --version
Python 3.9.9
编译安装Git
使用yum来安装
yum install git【注】:yum安装成功了,就不需要编译安装了
编译安装
进入git在GitHub上发布版本页面我们选择最新版tar.gz的文件

下载,解压,并切换到待编译文件目录
wget https://github.com/git/git/archive/refs/tags/v2.35.1.tar.gz && tar -zxvf v2.35.1.tar.gz && rm -f v2.35.1.tar.gz && cd git-2.35.1编译
make --prefix=/opt/git all【注】:
报错及其解决方式,参考CentOS 7 - 安装 Git - 灰信网(软件开发博客聚合) (freesion.com)
出现报错:
... 省略部分信息 In file included from http.c:2:0: http.h:6:23: fatal error: curl/curl.h: No such file or directory #include^ compilation terminated. make: *** [http.o] Error 1 执行
yum install -y libcurl4-gnutls-dev出现报错:
GIT_VERSION = 2.27.0 make: curl-config: Command not found * new build flags CC fuzz-commit-graph.o In file included from commit-graph.h:4:0, from fuzz-commit-graph.c:1: git-compat-util.h:297:25: fatal error: openssl/ssl.h: No such file or directory #include^ compilation terminated. make: *** [fuzz-commit-graph.o] Error 1 执行
yum install --assumeyes openssl-devel出现报错:
... 省略部分信息 In file included from http.c:2:0: http.h:6:23: fatal error: curl/curl.h: No such file or directory #include^ compilation terminated. make: *** [http.o] Error 1 执行
yum install --assumeyes expat-devel
安装
make prefix=/opt/git install检验是否安装成功
[root@VM-8-2-centos git-2.35.1]# /opt/git/bin/git --version
git version 2.35.1
制作软连接
ln -s /opt/git/bin/* /usr/bin/编译安装Proxychains
【注】:使用proxychains需要你有http代理、socks4或者socks5代理
下载源码,git可以使用yum安装或者参考上面的git编译安装
git clone https://github.com/rofl0r/proxychains-ng编译安装
./configure --prefix=/usr --sysconfdir=/etc && make && make install && make install-config【注】:make install-config是安装proxychains的配置文件,会被安装到
/etc/proxychains.conf这个路径
修改 /etc/proxychains.conf 文件末尾处
[ProxyList]
# add proxy here ...
# meanwile
# defaults set to "tor"
socks5  yourproxy port # 如 socks5 114.144.252.111  7000
http    yourproxy port
使用方式:在需要使用代理的指令前加上proxychains4前缀
proxychains4 curl https://httpbin.org/ip #测试IP,和不加前缀的指令做个对比
【注】:使用-q参数会隐藏代理的细节


Comments | NOTHING