本文最后更新于2022年2月27日,已超过 60 天没有更新,如果文章内容或图片资源失效,请留言反馈,我会及时处理,谢谢!
2.使用oh-my-posh配置Shell界面[1]
2.1 windows端配置
1.安装主题
在powershell中执行下面指令
(1)安装oh-my-posh
Install-Module oh-my-posh -Scope CurrentUser(1)安装posh-git
Install-Module posh-git -Scope CurrentUser注意:如果中途有询问,直接Y就好了。
2.2编辑相应配置文件
(1)在Windows Terminal中敲下下面两行命令
- 第一条(启动编辑power shell配置文件的引擎)
if (!(Test-Path -Path $PROFILE )) { New-Item -Type File -Path $PROFILE -Force }- 第二条(使用记事本打开配置文件)
notepad $PROFILE(2)在打开的记事本中写入如下内容(脚本文件),并保存
Import-Module posh-git
Import-Module oh-my-posh
Set-PoshPrompt -Theme JanDeDobbeleer
第一条命令表示导入posh-git
第二条命令表示导入oh-my-posh
第三条命令表示设置主题为JanDeDobbeleer[^2]
2.3 设置字体
(1) 下载字体 [Nerd Fonts]
下载Cousin Nerd font 字体

将下载好的文件全部选中,右键安装
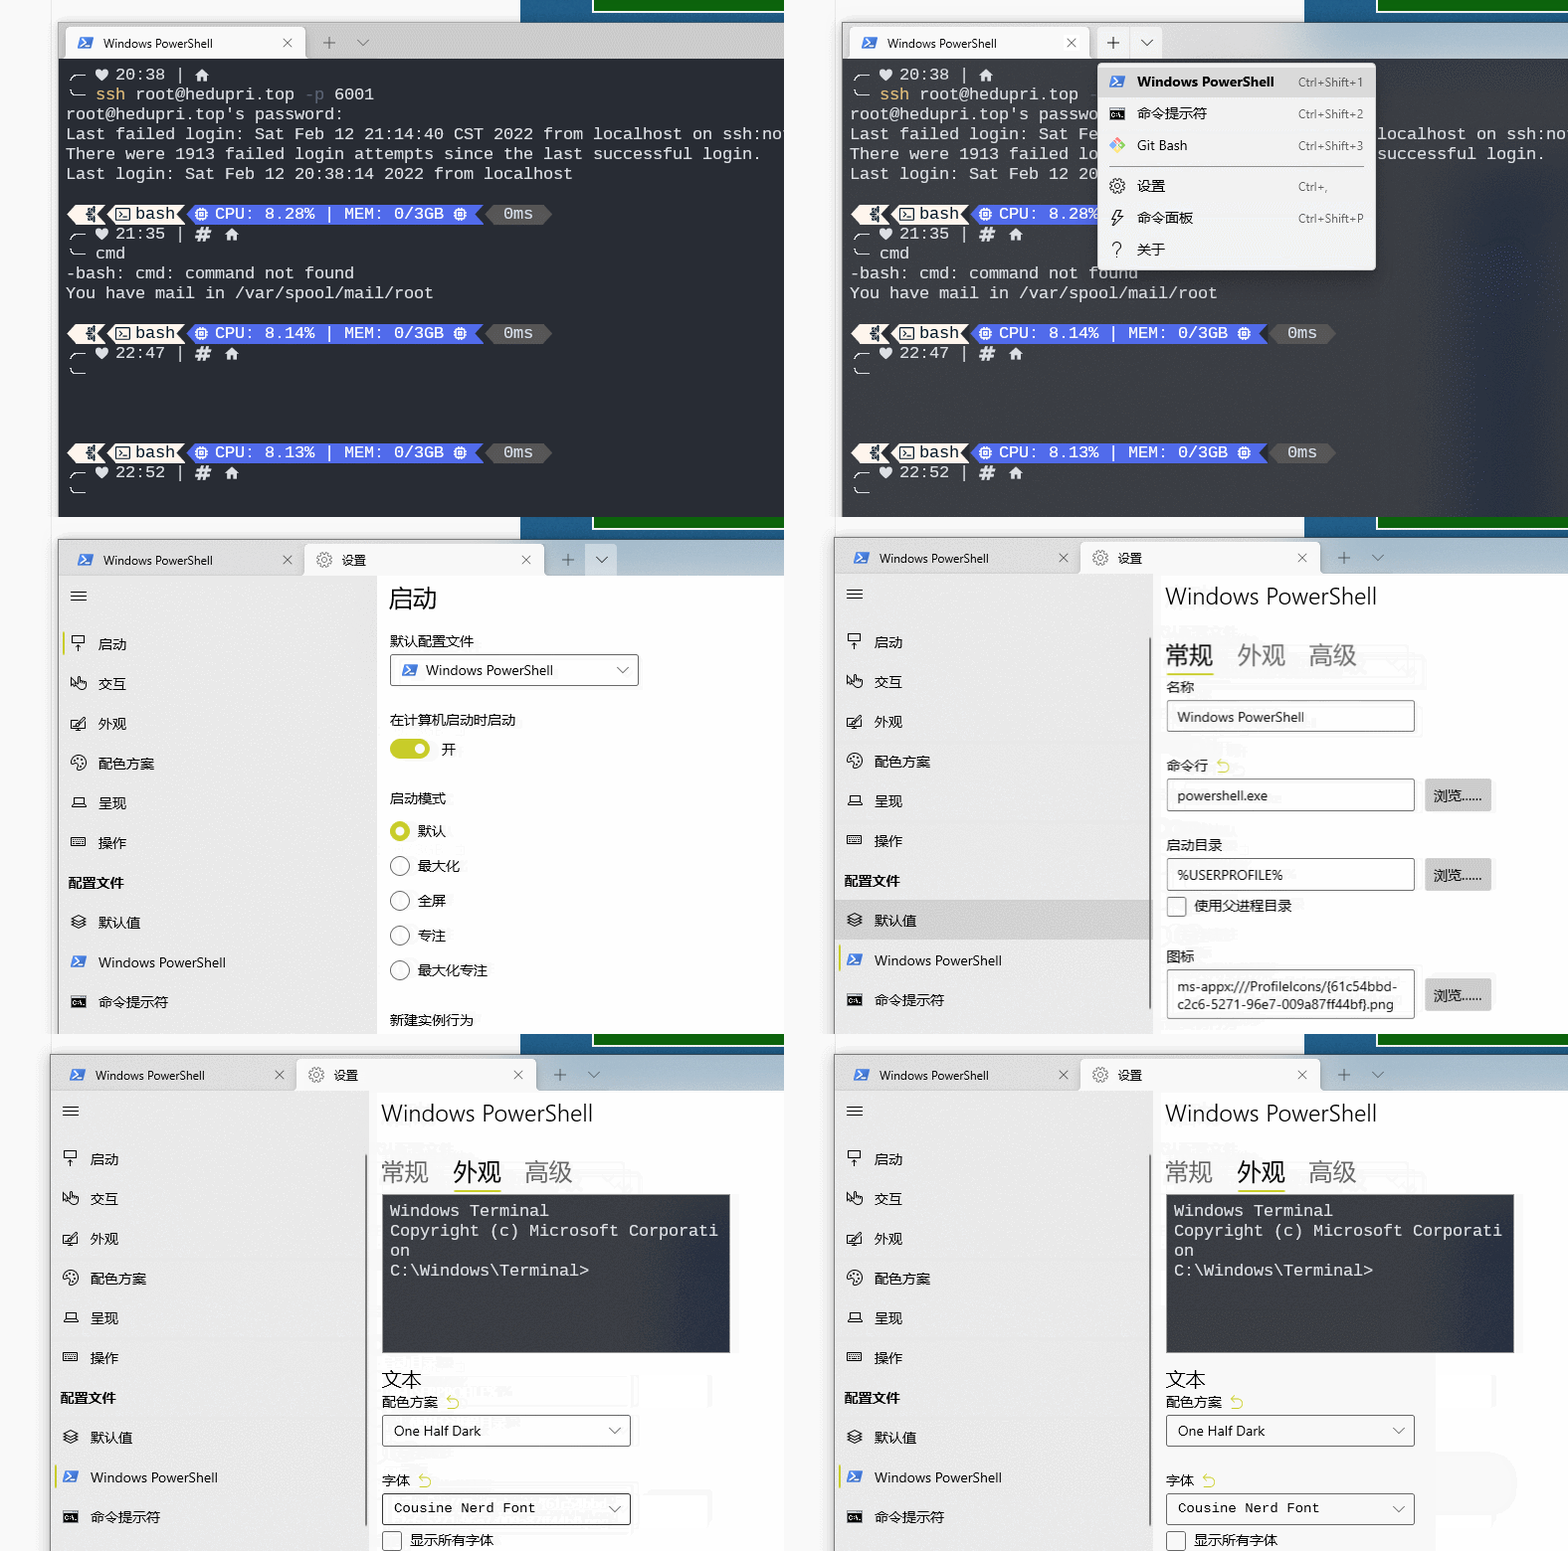
(2) 设置字体
在WindowsTermimal 或者 PowerShell中打开属性面板选择Cousine开头的字体
[注] : WindowsTermimal如果没有可以去 windows的AppStore搜索下载

2.2 linux-centos7 端bash配置[1]
(1)下载 Oh My Posh
sudo wget https://github.com/JanDeDobbeleer/oh-my-posh/releases/latest/download/posh-linux-amd64 -O /usr/local/bin/oh-my-posh
sudo chmod +x /usr/local/bin/oh-my-posh
(2)下载主题
mkdir ~/.poshthemes
wget https://github.com/JanDeDobbeleer/oh-my-posh/releases/latest/download/themes.zip -O ~/.poshthemes/themes.zip
unzip ~/.poshthemes/themes.zip -d ~/.poshthemes
chmod u+rw ~/.poshthemes/*.json
rm ~/.poshthemes/themes.zip
此时在 ~ 目录下有一个包含多个主题的 .poshthemes文件夹
(3)设置主题
使用
vim ./bashrc在bashrc文件末尾添加
eval "$(oh-my-posh --init --shell bash --config ~/.poshthemes/jandedobbeleer.omp.json)"其中jandedobbeleer为要设置的主题文件,也可以更换为 ~/.poshthemes中的其他文件,完成后使用指令
. ~/.bashrc[注]:关于主题预览和选择可访问https://ohmyposh.dev/docs/themes#m365princess
重载配置文件,即可使用


Comments | NOTHING